Mercedes ML350
Brake Light Electrical Repair
By Paul Waterloo
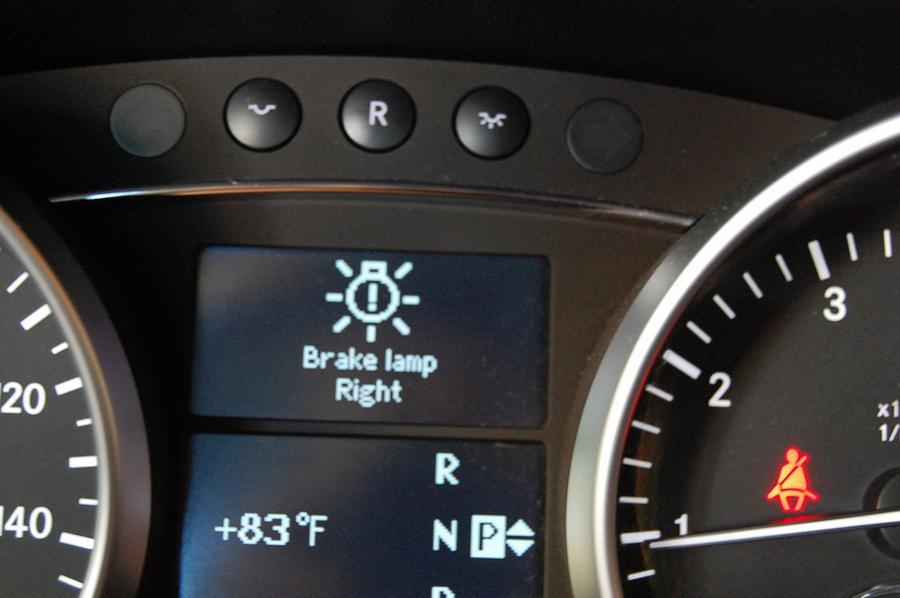
On my 2007 ML350, there was a brake light warning. This indicates that the primary brake light has gone out, then the secondary brake light starts working. The primary is located at the top of the rear tail light, where the secondary is located at the bottom of the tail light. The above indication will illuminate.
This is a known problem and easy fix. You need a repair kit from the dealer, and an insulation displacement connector. That's it.
Parts Required
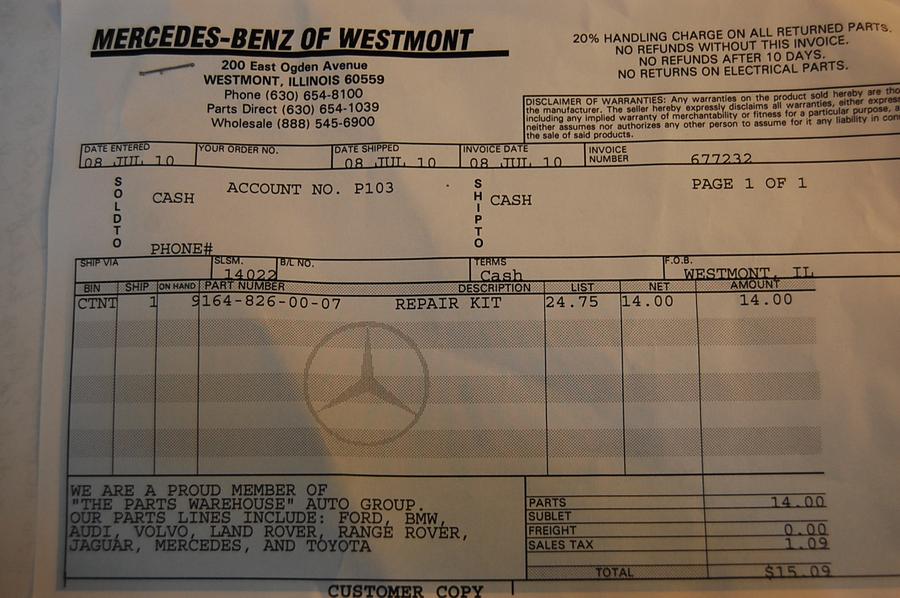
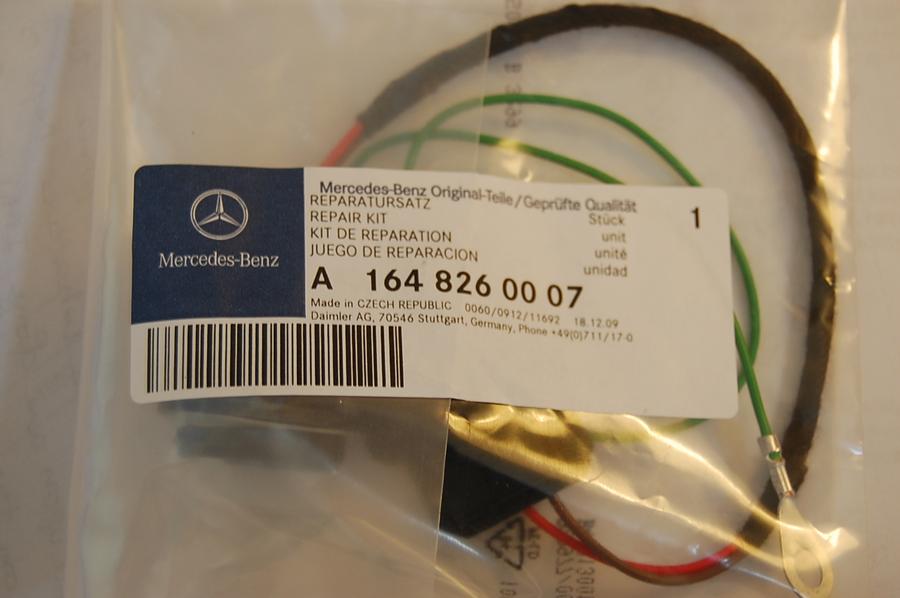
164-826-00-07 Repair Kit
Insulation Displacement Connector
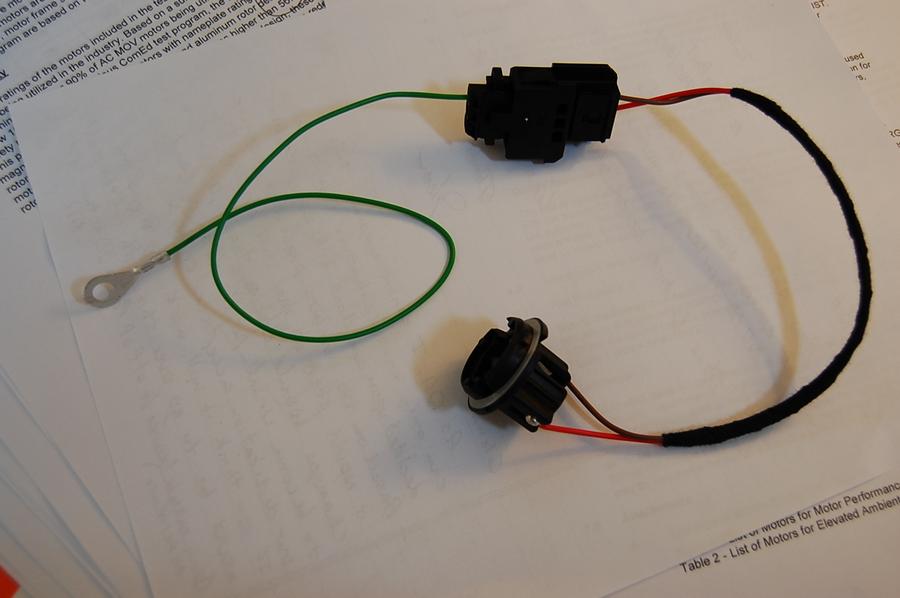
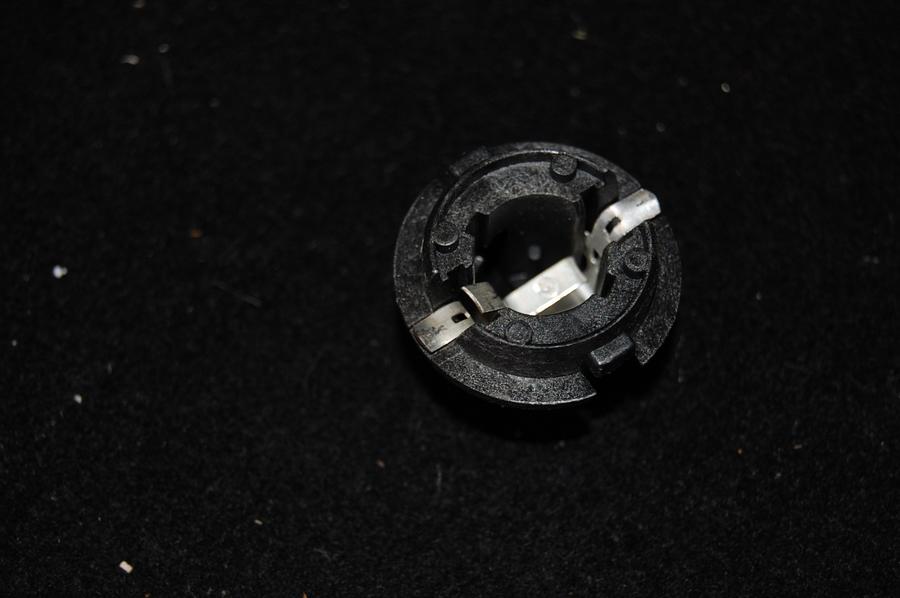
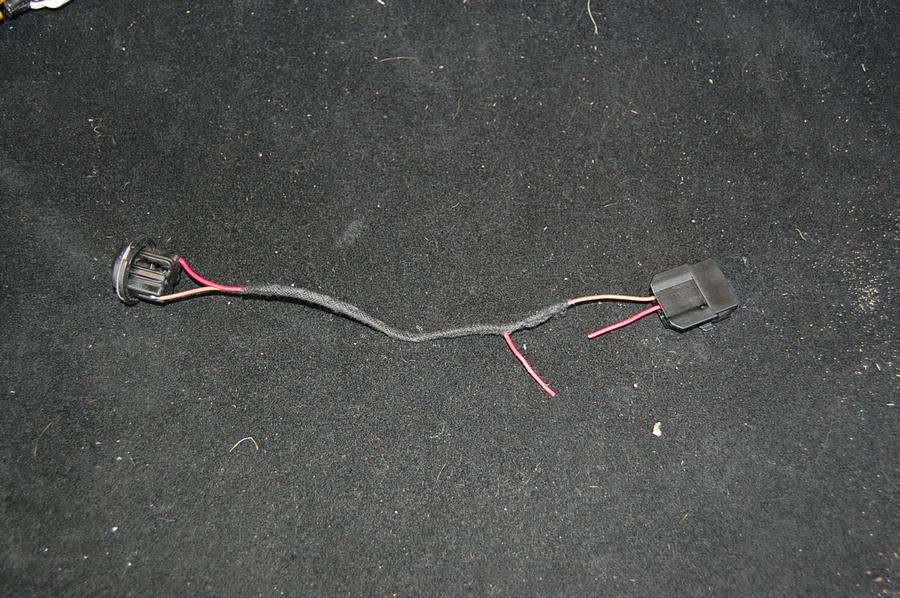
Above repair kit is nothing more than two wires and a new bulb connector that doesn't contact the metal backing of the tail light. The issue with the original set up is arching between the bulb socket and the metal backing ground plate which creates a high resistance connection. For the repair, the ground wire is connected to a ground post, the positive wire is connected directly to the wiring going into the tail light.
Brake bulb socket that is removed. Notice corrosion on tabs.
Procedure
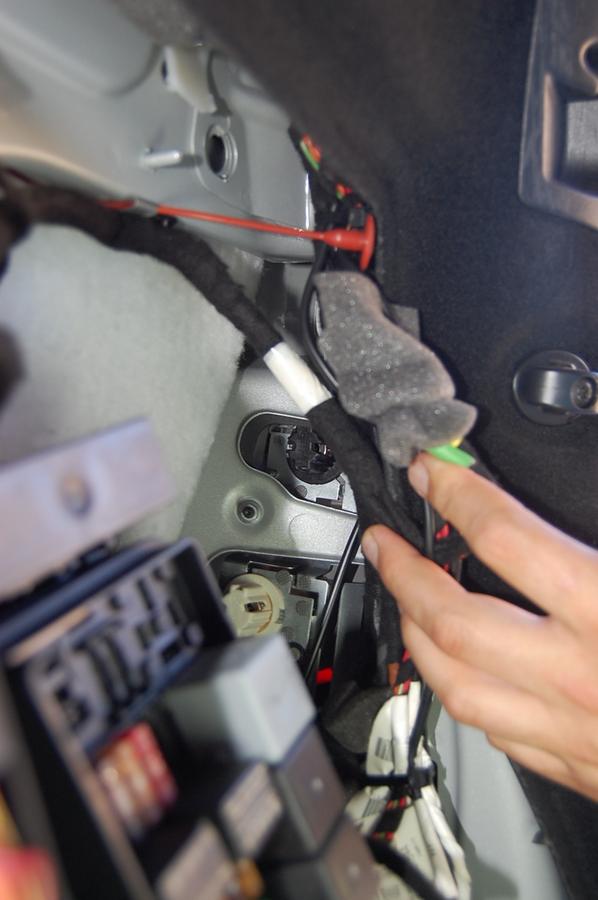
Remove the side cover for the side to be working on. Locate the brake bulb, which is high in the tail light. Remove the brake bulb socket assembly.
Brake bulb socket assembly is black one located in the upper position.
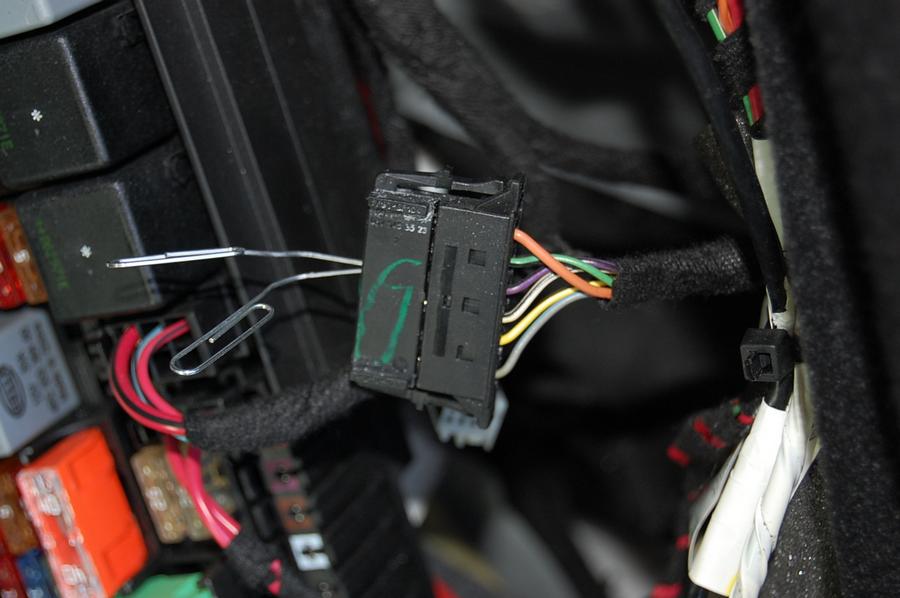
Remove the wiring from the brake assembly.
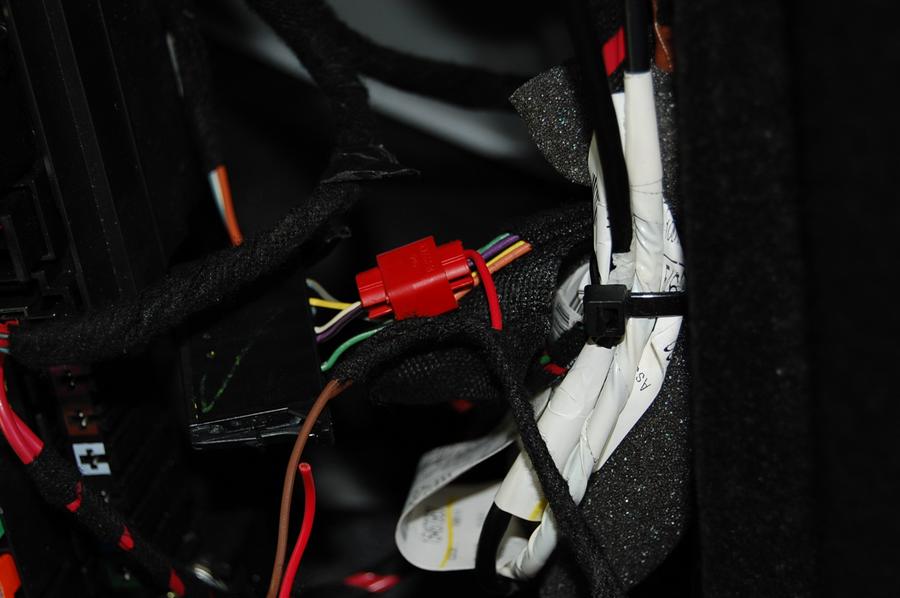
Wiring from brake assembly on right hand side. The paper clips were installed in an effort to release the power wire from the connector, but it is very difficult to do without the correct tool. I just used an insulation displacement connector on the correct wire after failed attempts to remove it.
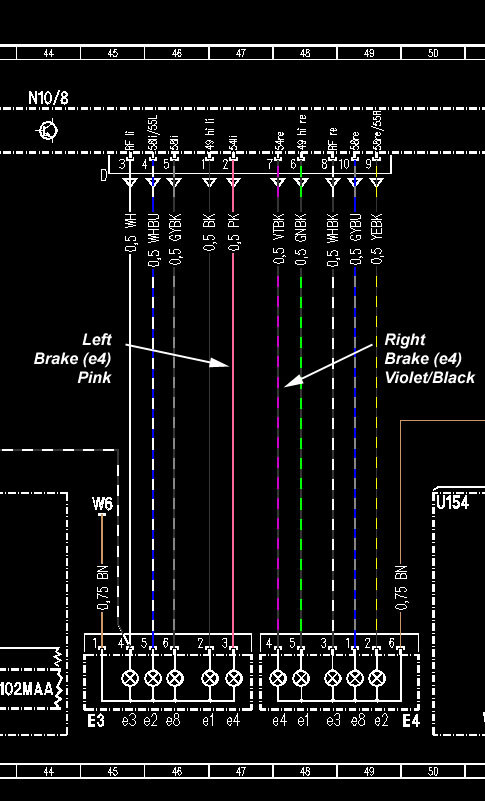
Cut the red wire on the repair kit and using an insulation displacement connector, connect it to Pink wire for the left side tail light, or Violet/Black wire for the right side wire. See images below for instruction.
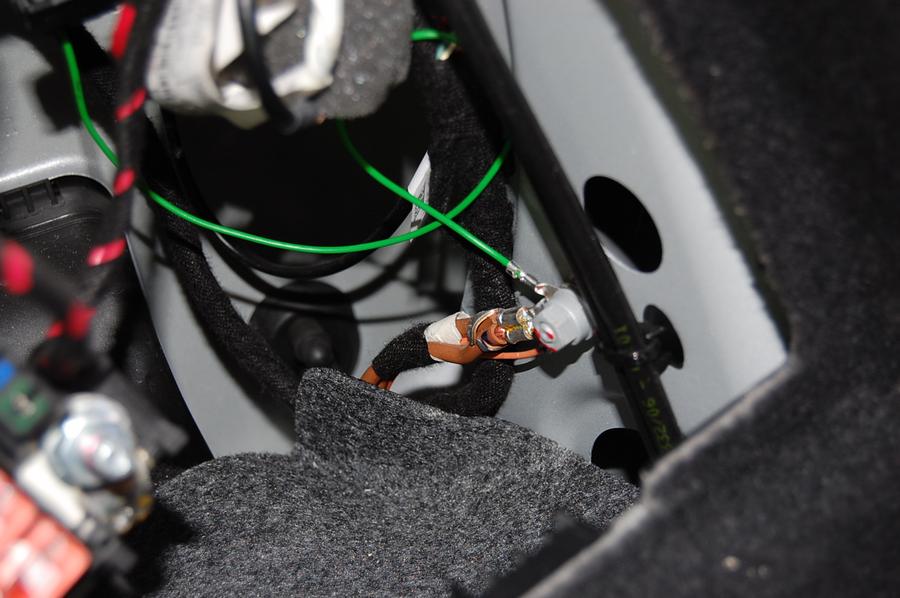
Finally, connect the green wire to a grounding post adjacent to the tail light assembly as shown below. Reconnect the wiring on the repair kit and you are done!